The cPanel WordPress Toolkit is an all-in-one solution that streamlines the process of installing, managing, securing, and updating WordPress directly from your hosting control panel. Whether you’re launching your first blog or managing multiple client websites, this toolkit simplifies WordPress site management and removes the technical complexity.
With just a few clicks, you can have a secure, fully functional WordPress site up and running. Let’s walk through the step-by-step process to install WordPress using the cPanel WordPress Toolkit.
Quick Steps
- Log in to cPanel
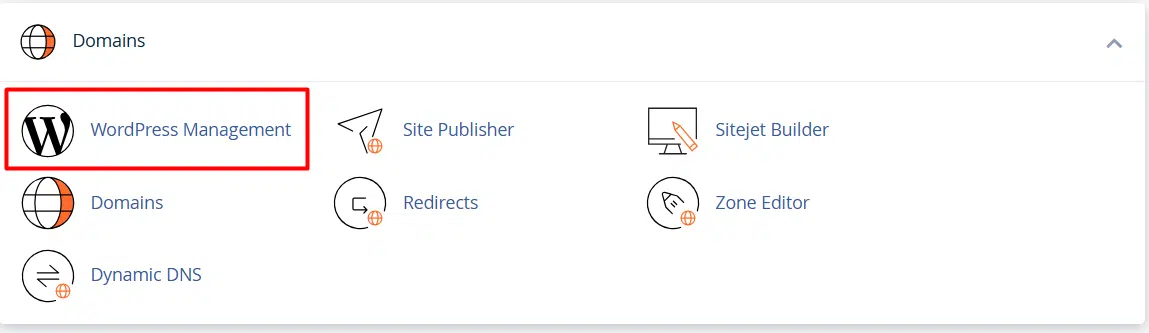
- Open WordPress Toolkit via: Tools > Domains > WordPress Toolkit.
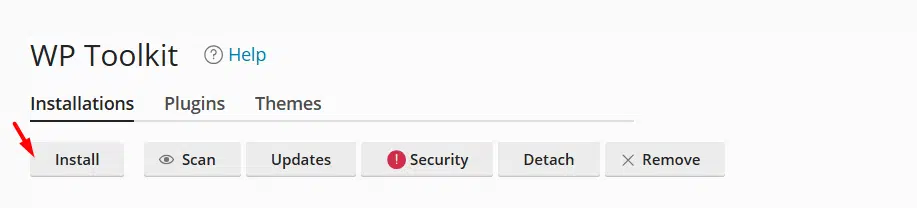
- Under Installations, click Install.
- Configure Installation Options.
- Click Install and wait for the process to complete.
- Log in to your new WordPress site via
yourdomain.com/wp-adminor manage it through the WordPress Toolkit
Steps to Install WordPress Using cPanel WordPress Toolkit
cPanel WordPress Toolkit
To begin the installation process, log in to your cPanel account using your web hosting credentials. Once inside the dashboard, look for the WordPress Toolkit. If you’re using the Jupiter theme, you can find it by navigating to Tools > Domains > WordPress Toolkit.
For users on the Paper Lantern theme, the path is slightly different—go to DOMAINS > WordPress Toolkit.

cPanel WordPress Toolkit
Clicking on the toolkit opens up the main interface where all current WordPress installations and management tools are displayed.
Now, under the Installations section, click the Install button to initiate a new WordPress setup.
cPanel WordPress Toolkit
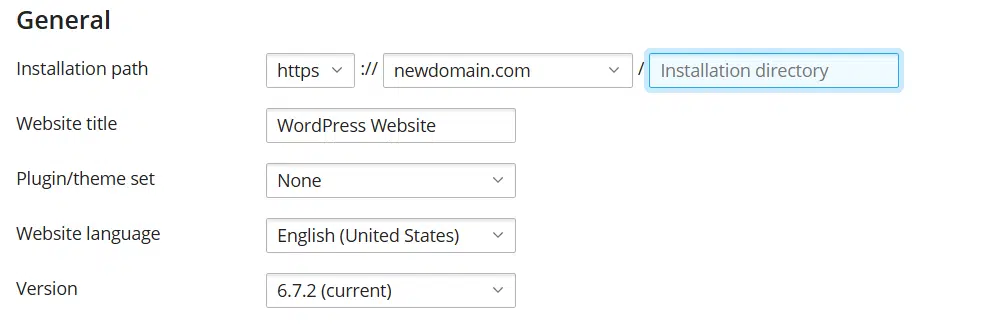
The system will then prompt you to configure a few essential installation settings. In the General Settings area, you’ll first need to specify the installation path. If you want WordPress to be installed on your main domain (e.g., yourdomain.com), leave this field blank. However, if you prefer it installed in a subdirectory like yourdomain.com/blog, enter that subfolder name here. Next, assign a title for your website, select a set of themes and plugins if you’d like to use a predefined configuration, choose the language for your site, and select the desired version of WordPress—usually, the latest version is recommended.
cPanel WordPress Toolkit
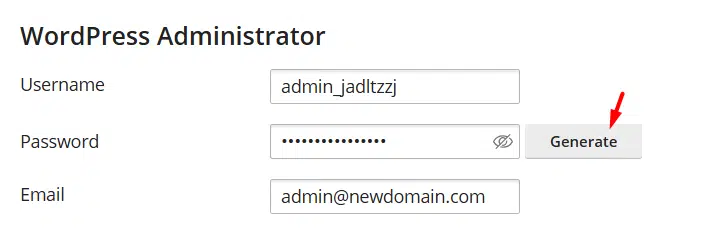
Moving on, the WordPress Administrator section is where you’ll set up your login credentials. Choose a unique and secure username, create a strong password (or use the “Generate” button to have one automatically created), and input a valid email address. This email is essential for receiving admin notifications and resetting your password if needed.
The Database section is next, but unless you have advanced technical requirements, there’s no need to alter the default settings. These defaults are designed to work efficiently for most users and eliminate the risk of misconfiguration.
Before completing the process, you’ll be asked to configure Automatic Update Settings. The recommended default settings will automatically keep your WordPress core, plugins, and themes up to date, enhancing security and performance without manual effort. Unless you have specific preferences or technical requirements, it’s best to leave these settings as-is.
Once all settings are in place, click the Install button. The cPanel WordPress Toolkit will begin the installation process and display a progress bar

cPanel WordPress Toolkit
cPanel WordPress Toolkit
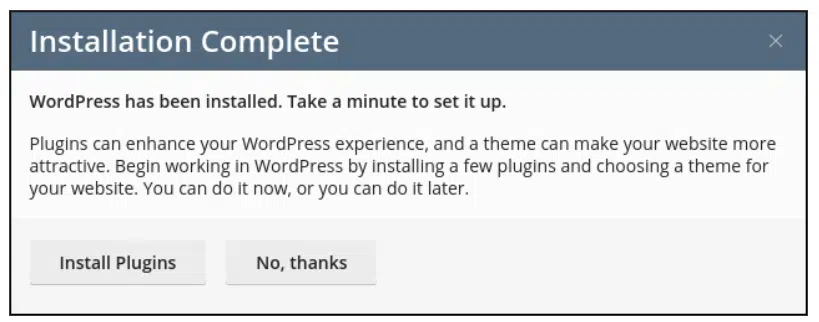
In just a few moments, your WordPress site will be ready to use. After installation is complete, you can optionally install plugins:
Now that WordPress is installed, you can use the WordPress Toolkit to help manage your site.
Conclusion
Congratulations! You’ve now learned how to install WordPress using the cPanel WordPress Toolkit—a fast, secure, and user-friendly method ideal for both beginners and developers.
With this powerful tool, setting up your website is easier than ever. Take advantage of the WordPress Toolkit to streamline your updates, strengthen security, and manage your site more efficiently right from cPanel.

If you have any web hosting questions please feel free to reach out to us. We're happy to help.
Shared Hosting | Reseller Hosting | Managed WordPress Hosting | Fully Managed VPS Hosting
Our Guiding Principles
- Provide consistent, stable, and reliable web hosting services.
- Ensure rapid ticket response and quick resolutions to issues.
- Never saturate or over-provision servers to ensure stability and speed for our customers.
- Use only high-quality enterprise-class hardware to ensure minimal downtime from hardware failures.
- Provide clear pricing with no hidden fees or gotchas.