This guide will show you how to use the ClamAV virus scanner from within cPanel.
Quick Steps:
- Step 1. Login to cPanel and locate “Virus Scanner”
- Step 2. From the “Virus Scanner”, select from the options and enter “Scan Now” button.
- Step 3. You can see the scan progress and present with malicious file if any have been found.
First, you’ll want to locate the “Virus Scanner” icon in cPanel. This will be located under the “Advanced” pane in cPanel:
virus-scanner-icon
Next, you’ll be taken to the “Start a New Scan” options. From here, you have 4 options:
- Scan Mail
- Scan Entire Home Directory
- Scan Public Web Space
- Scan Public FTP Space
We typically recommend using the “Scan Entire Home Directory” option. This option will scan all files located on the specific cPanel account.
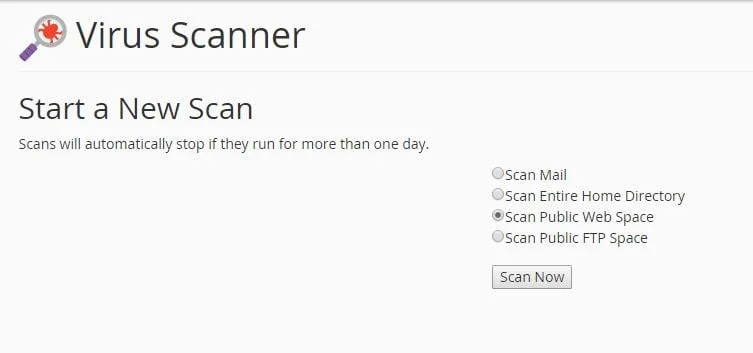
scan-options
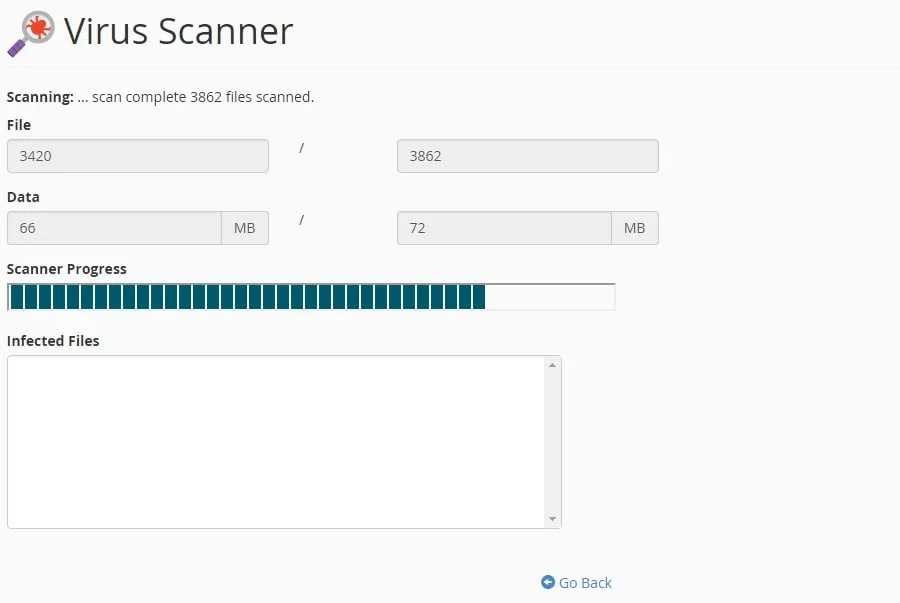
After you’ve started a scan, it’ll display the progress bar, similar to the screenshot shown below:
virus-scanner-progress
Once the scan completes, you’ll be presented with the malicious files if any have been found. At this time, you’d be able to investigate and/or remove the files in question. Please note, the Virus Scanner will not pick up all malicious files – it will find only known-malicious files. For example, if you have a script that is sending SPAM but is an actual mailing script, it may not show since the script itself is not malicious, but instead is being used with malicious intent.

If you have any web hosting questions please feel free to reach out to us. We're happy to help.